


The previous lesson introduced all the notes of the musical alphabet. In this lesson, you will learn to sit correctly and use all five fingers when playing. Additionally, rhythm will be introduced and practiced with clapping exercises.
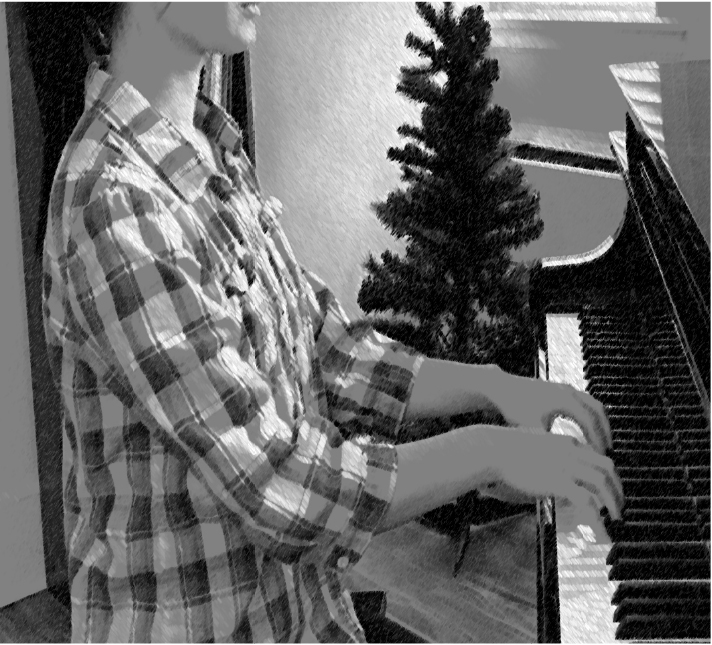
Elements of correct posture:
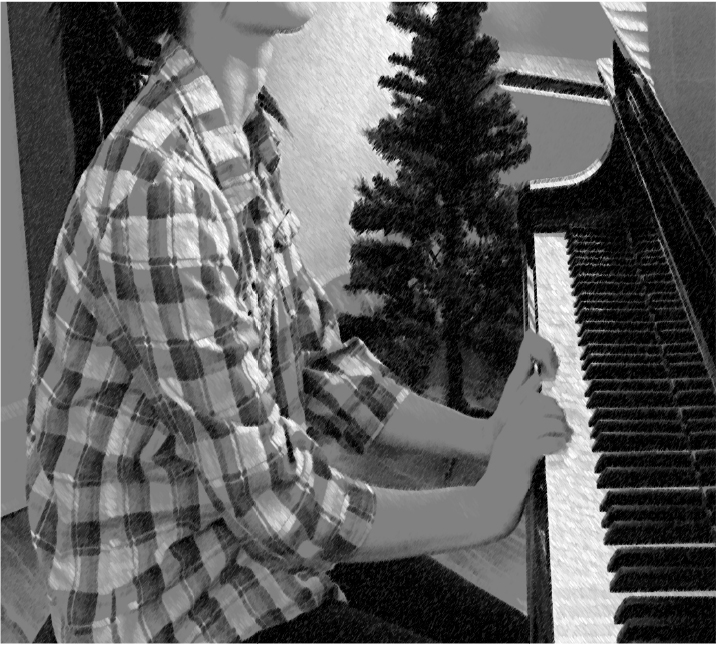
Incorrect/bad posture:
Hand Position
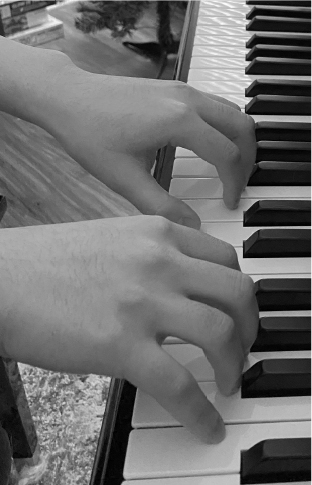
Elements of correct hand positioning:
Watch the following instructional video on sitting and hand posture.
Note: insert instruction video “1.3 posture” here
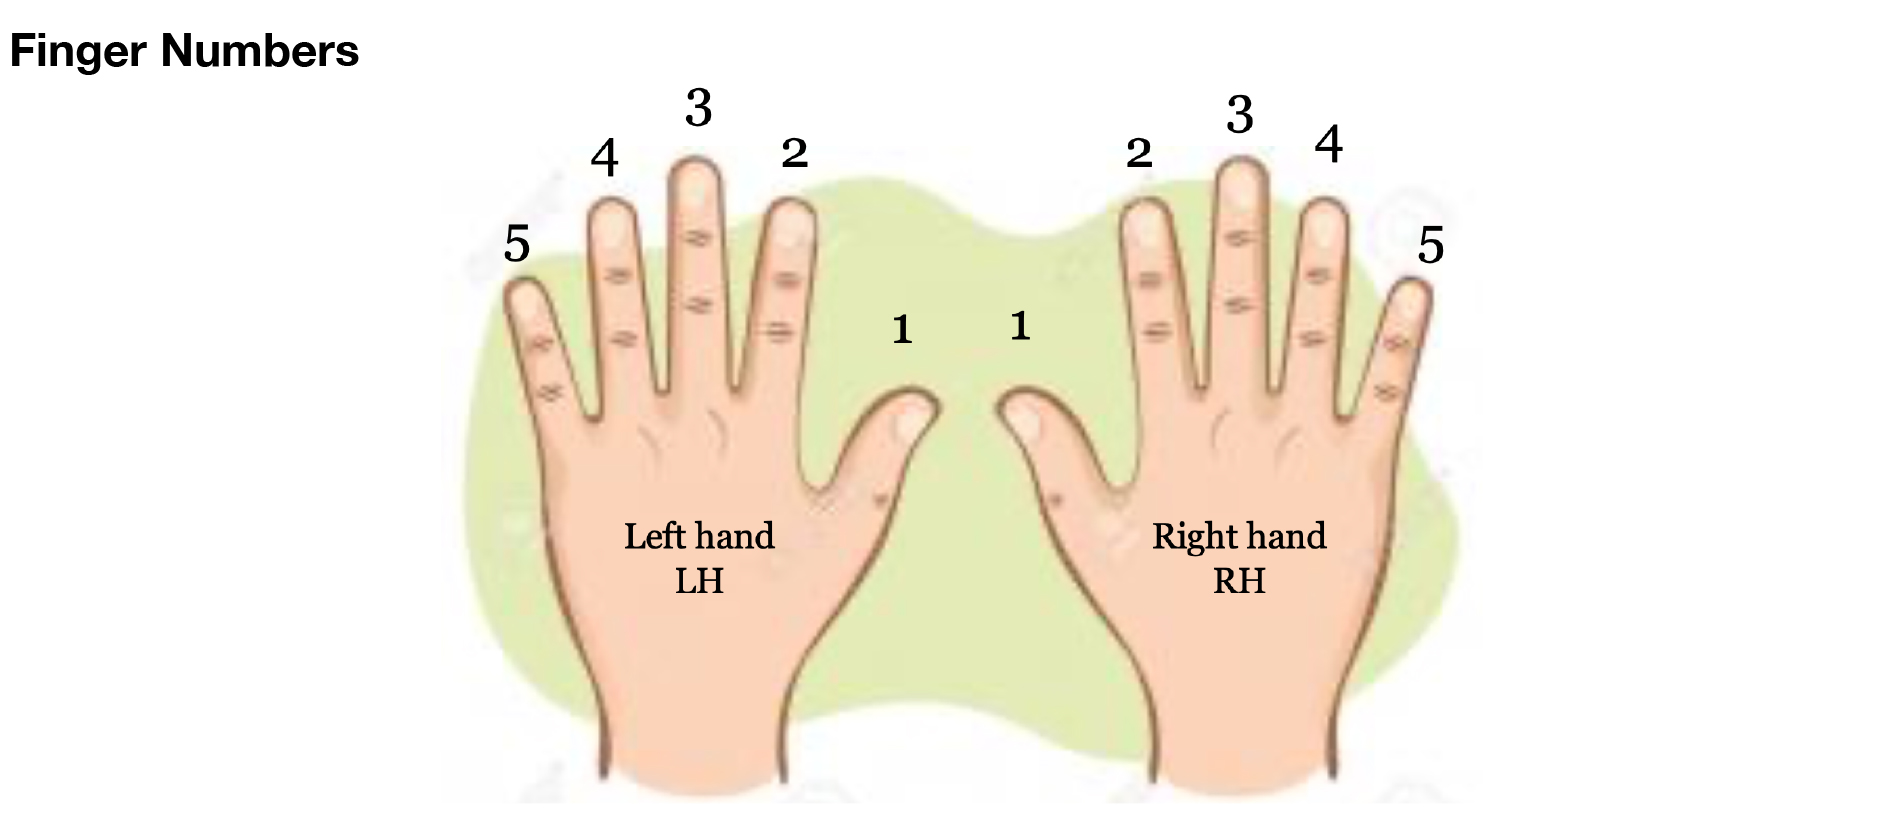
Go through the following finger number exercises for practice. Watch for correct sitting and hand posture as you practice. Be able to play each exercise evenly and smoothly.
Finger Number Exercises
Start with your right hand. Place your right hand finger 1 (thumb) on middle C.
Now switch hands. Place left hand finger 1 (thumb) on middle C.
Rhythm Notation
Music is essentially a series of pitches and rhythm. Without correct rhythm, the same bunch of pitches can sound wrong. Change the rhythm, and you could even change the piece entirely!
Every note has a certain length. A note can be one beat, two beats, three beats, half a beat, a quarter of a beat…you get the idea! What is a beat? It is a steady count, which can be fast, medium, slow, and anything in-between.
In this lesson, we will learn the four basic rhythmic notations:
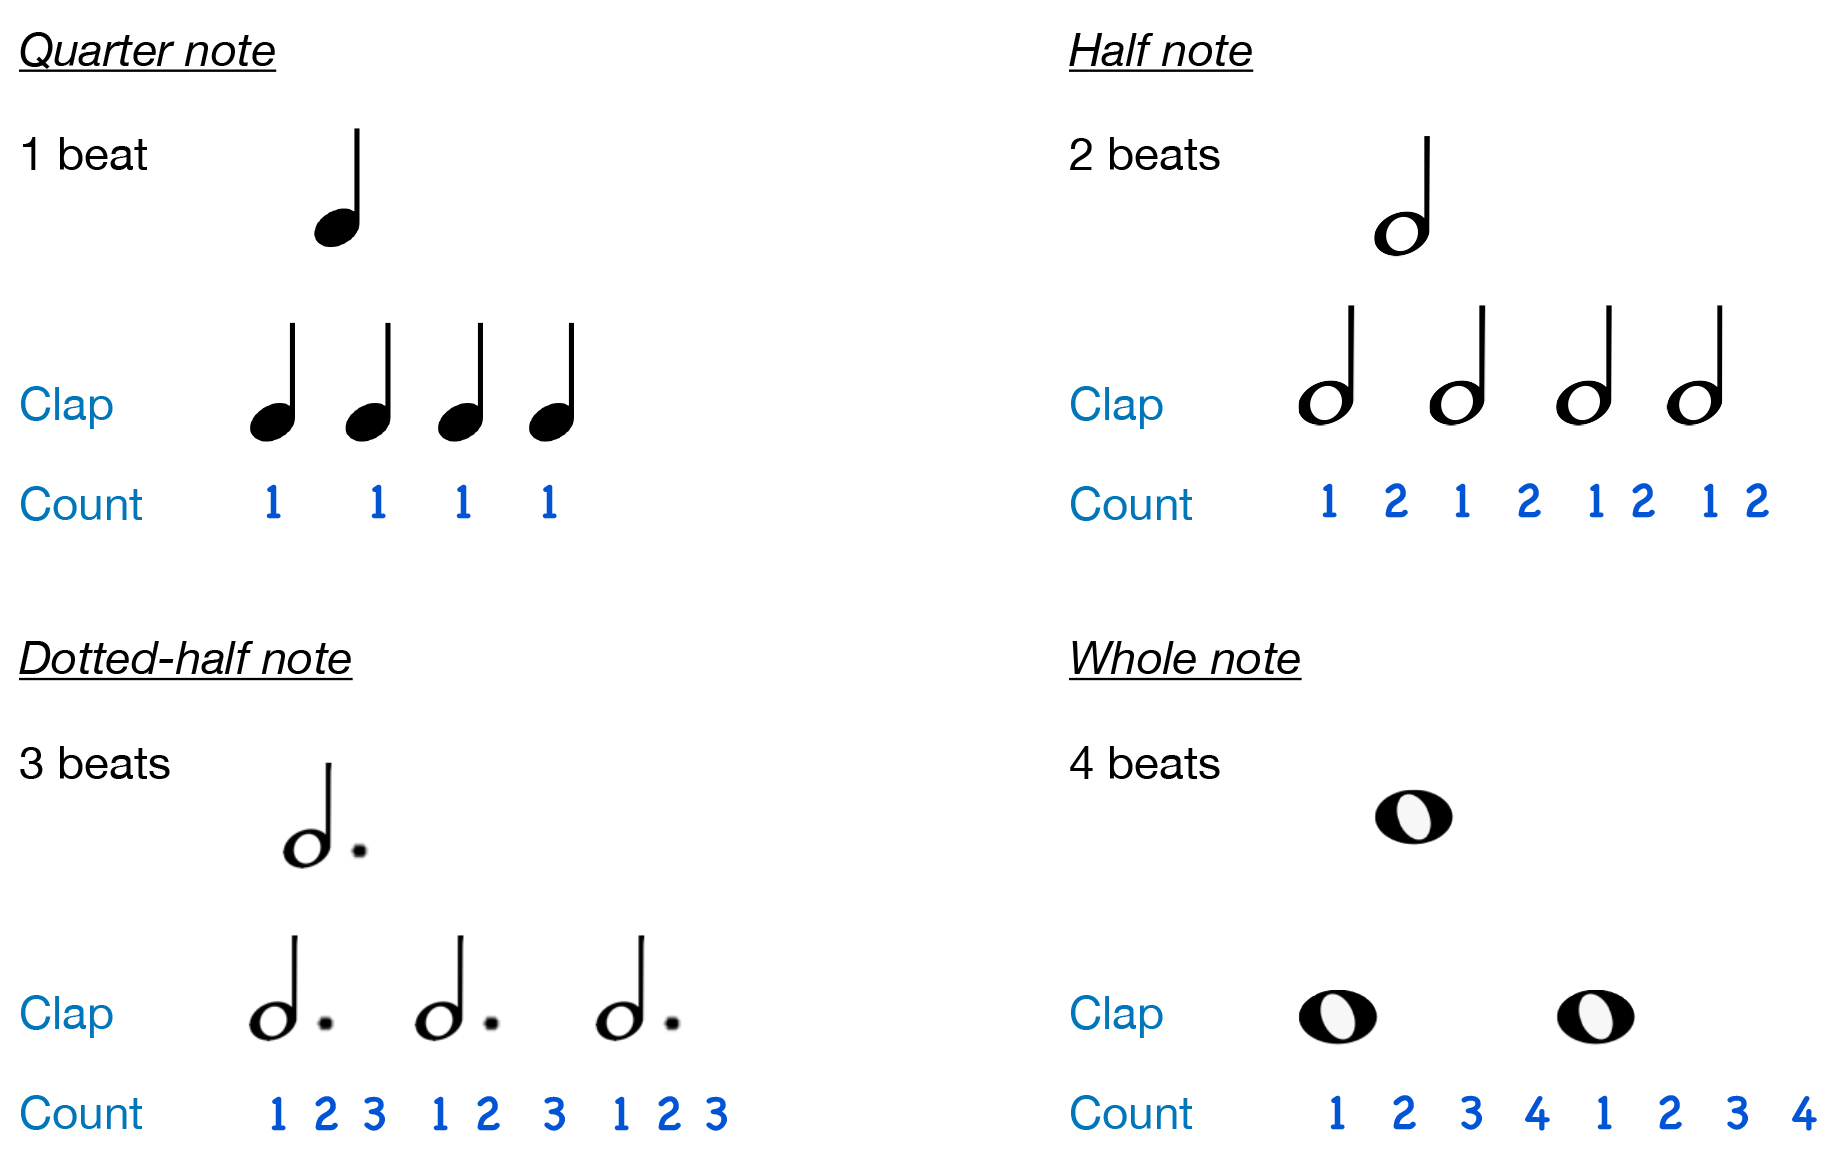
Watch the instructional video to learn how to clap and count these different rhythms.
Note: insert instructional video “1.3 rhythm” here


